Botanical Art Techniques - ASBA, Instalment 4 - Specialized Techniques and Composition
- elanorwexler
- Mar 18, 2024
- 8 min read
Many of us choose to work in watercolor or coloured pencil, but do you ever feel like getting out the oil paints or trying something completely different such as metalpoint? In this post I review Part 3 of the ASBA book: Botanical Art Techniques: A Comprehensive Guide, which covers Specialized Techniques and Composition. This section of the book brings together a wealth of knowledge from artists who are producing botanical art using everything from egg tempera to etching. We hope you enjoy reading this overview and seeing just a sample of the wonderful images included in the book.
Review by Elanor Wexler - botanical artist, junior & secondary teacher and ABA Education Team & Committee member.

Part 3 of Botanical Art Techniques: A Comprehensive Guide is entitled “Specialized Techniques and Composition” and covers a diverse range of approaches which are perhaps less common amongst botanical illustrators. It comprises several short chapters, each by a different artist/tutor, covering a specific technique and tutorial. Every chapter starts with a handy introduction to set the scene and a list of materials used for the exercise accompanied by an image as an example for the chapter theme. Some of the chapters such as the one on etching need quite specialised materials, with others using materials you may have in your art cupboard. I chose to complete two of the tutorials set out in this section which I will refer to as I talk you through the chapters.

Part 3 starts with a tutorial entitled Field Sketchbook and Journal by Lara Call Gastinger. Lara describes, in simple steps, her approach for creating a journal and includes some very useful tips about how to use your sketchbook pages, how to use colour and detail, and the types of information to record to make this a useful future reference. She includes several photographic examples of her own journals spanning several years which are beautifully laid out and usefully illustrate the points she is making.
Next comes a section on Combining Graphite and Watercolor. The bulk of this chapter is a detailed tutorial entitled Graphite and Watercolor on Vellum by Deborah B. Shaw. I particularly appreciated the detail about building up tone and how to use tools such as an incisor on the vellum. As with most chapters in this book, clearly numbered photos are provided that illustrate the tutorial steps clearly. It would have been nice to have seen further examples of how different artists are combining graphite and watercolour for compositional effect, although a brief example and description focussing on a piece by Gillian Harris is included.


Kelly Radding covers three specialized techniques: Egg Tempera, Gouache, and Casein: A Comparison. I chose to complete the first of these tutorials myself. This exercise involves making your own egg emulsion and mixing this with pigments to create egg tempera paint, a process that I undertook with childish excitement! I had purchased the primary colours in pigment form from Jackson Art and followed the process to mix these. Obtaining the distilled water which was required was harder than I expected, but for UK readers some of the larger supermarkets stock it in the car maintenance section. Searching online also taught me that you can make your own distilled water and this would be a good option to keep costs down.


The tutorial steps were clearly explained and I was surprised by how easy it was to make the paints, although I struggled to get my yellow pigment to mix to a smooth paste. This tutorial comprises just 6 steps, and there is enough detail to guide you through the process. Essentially Kelly explains how she lays down washes of the egg tempera along with layers of stippled white paint to build up the finished piece. I found the egg tempera quite challenging to work with and I would need a lot more practice to produce anything that I felt was acceptable. It does have a pleasingly shiny finish which is different to other paints I have tried out, and seems to water down easily to create the glazes. I found that it dried very quickly on the paper and this made it hard to blend. A little more detail in the tutorial on tips and troubleshooting for working with this paint would have helped me to achieve a better outcome, but this was a fun activity to try and would be a good one for families to do together. I would recommend choosing a subject that is not too fiddly/detailed and possibly working on a larger scale initially if possible.
Kelly goes on to create a very similar composition using first goache and then casein. She helpfully explains both mediums before explaining how to approach the painting through the tutorial steps. She does not offer any opinions about whether one of these mediums is better than the other, but her three tutorials allow you as the reader to compare the techniques and outcomes.

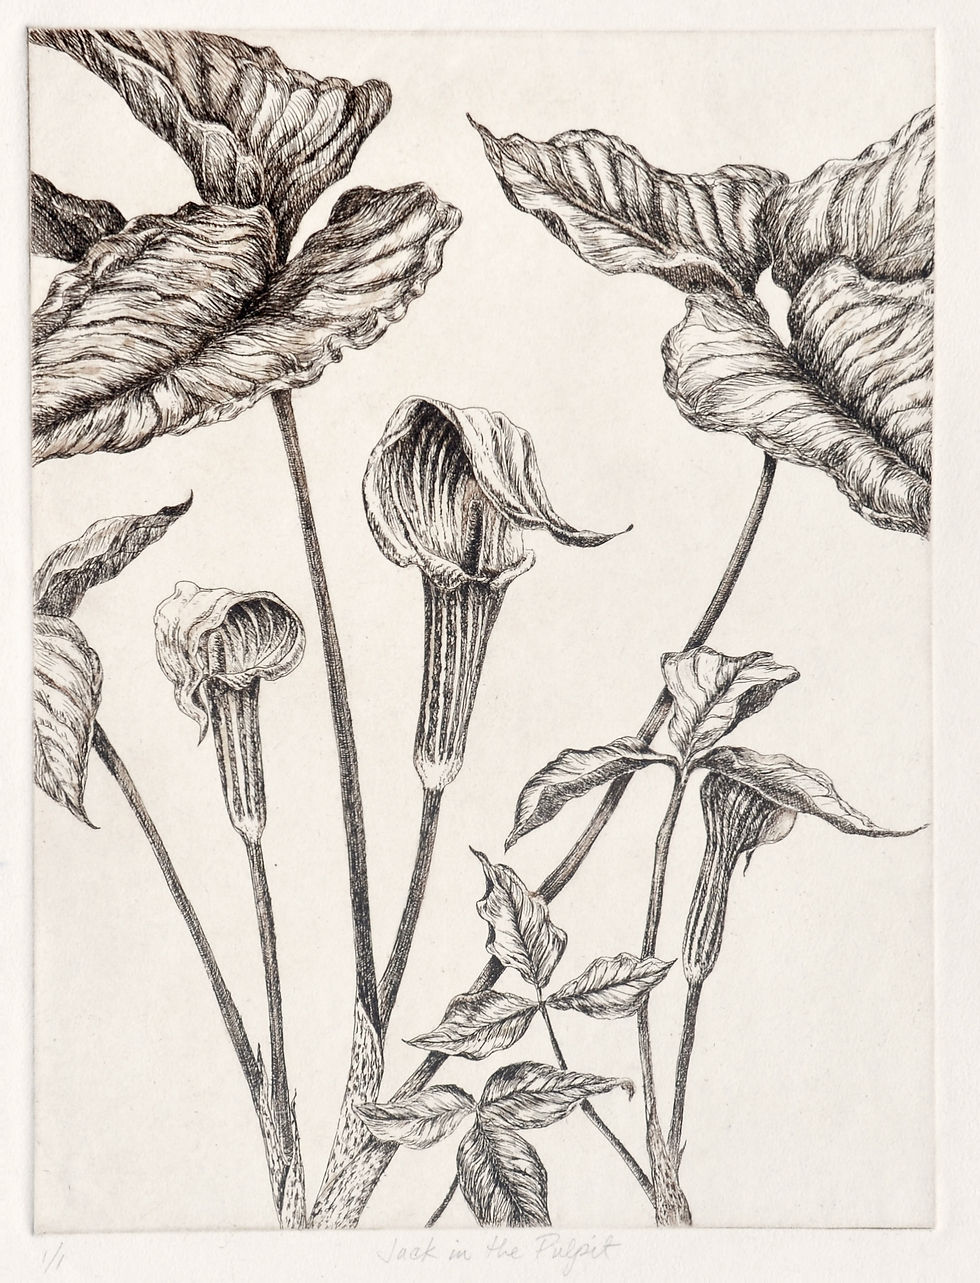
Next comes a chapter on Etching Techniques by Carol Till. This chapter is very specialist and Carol explains the whole process with fascinating photographs showing steps such as transferring the drawing onto an etching plate, applying the ink and using an etching press to create the final piece. You are very unlikely to have these materials and tools to hand, but this chapter may well inspire you to attend a workshop or even set yourself up with your own tools! Carol goes on to briefly describe polymer plate etchings; those of you with a love for science will enjoy the processes going on here. She also describes a print made using Chine Collé, hand-painting and etching. I have to admit that I had to read this section a few times to get a better understanding of what was being explained, but this is simply because the processes are quite involved and were completely new to me.
Carol clearly has a wealth of knowledge on this area, and could be a useful lead if you wish to find out more – you can easily find her work on Instagram and online.
Examples of tutorial images from Etching Techniques by Carol Till: inscribing the image on the plate and pushing ink into the etched lines on the plate; images courtesy of the publisher.
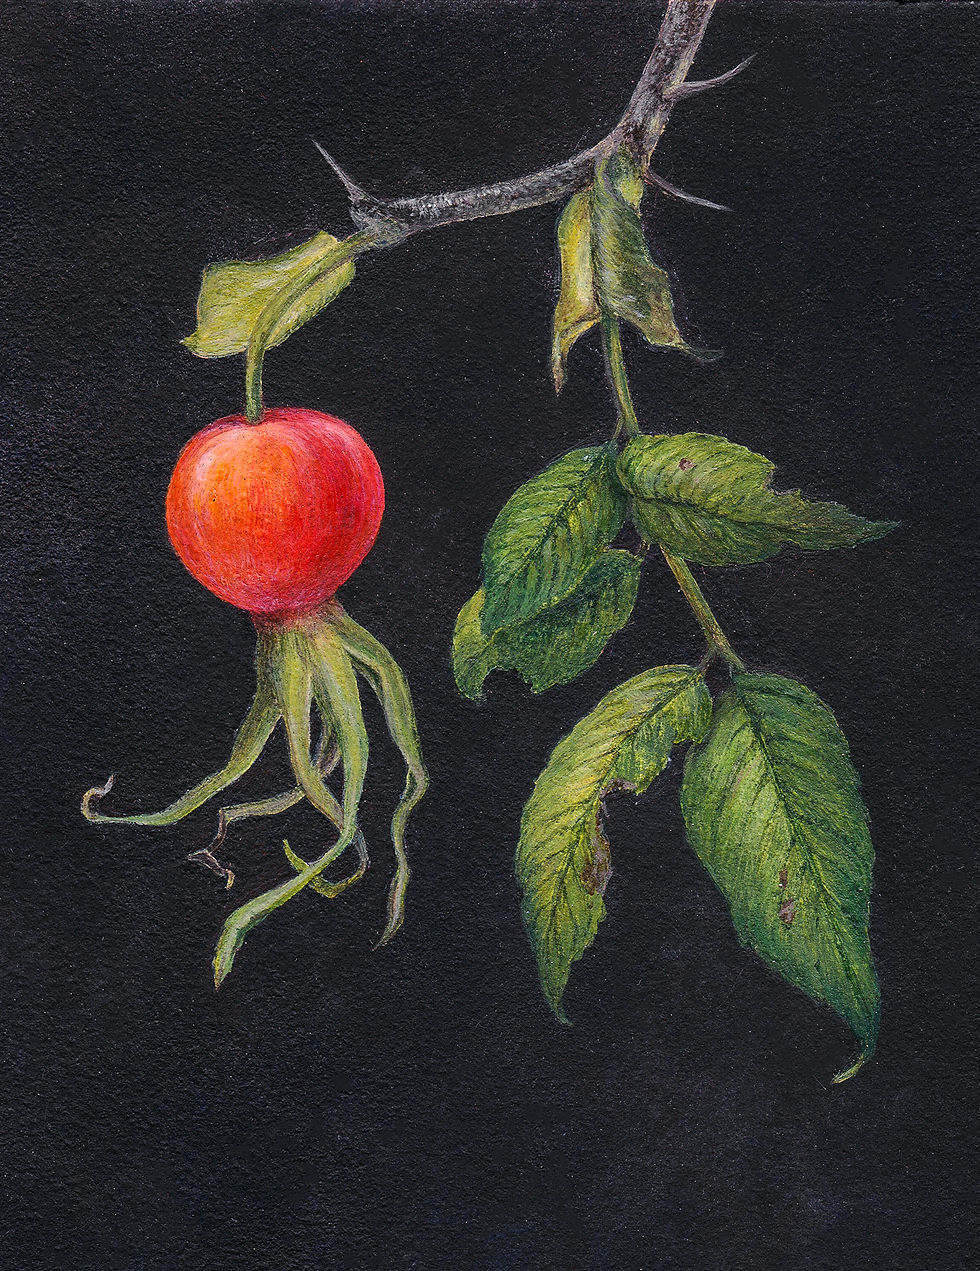
Lucy Martin has created a chapter on Painting a Branch with Lichens in Goache and Watercolor. This exercise appealed to me as I have been trained to use watercolor for botanical illustrations, and have not had any experience of using goache other than completing paint-by-number activities when younger! I was keen to see whether this was a medium that I could explore for accurate botanical paintings. The tutorial is clearly set out over two double pages in the book with 16 step-by-step photographs. The descriptions are extremely accurate and allow you to recreate exactly what Lucy Martin has painted should you wish to do so. I chose to complete a simpler version of the twig with less lichens on it, but this still allowed me to try a significant amount of the tutorial.

The process of using goache in this exercise involves laying down darker block areas of colour to start with and layering lighter tones and shadows on top. This was a different way of working for me but I really enjoyed how quickly I could achieve an effect that I was happy with.
It was really useful to learn how to use my brushes in different ways with the goache (eg for dry brush effects) and the tutorial was very clear in explaining how to do this. My only comment would be that I had to use a magnifying glass at times to refer to photographs to really understand some of the detailed instructions, for example tiny shadow or highlight areas that were being described.

Lucy’s final picture is stunning and took her 20 hours to complete; I only spent around 3 hours on mine and do not have the level of detail yet in this piece, but I was pleased with where I could get to in a short space of time and the impact I could achieve. I felt that I could now consider exploring goache as well as watercolour if I was completing illustrations which required greater impact or opacity than I could achieve with watercolor.
Carrie Di Costanzo’s tutorial Goache on Paper: Spruce Needles and Cones follows straight on and this would also be well worth looking at if you wish to explore the medium. She achieves quite a delicate effect with the paint and this example contrasts nicely with Lucy’s lichen on twigs.

A tutorial on Metalpoint comes next, written by Kandy Vermeer Phillips. Kandy’s chapter is particularly good at explaining the materials needed and how to use them, for example the range of grounds that can be used. I was interested to read that paints I had at home such as Zinc White Goache can be used as a ground. As this technique is so close to graphite drawing, it is an appealing one to try. Kandy gives two examples in the tutorial and you can clearly see the fine detail and delicacy achieved by the artists. (If interested in metalpoint, you may also wish to refer to an earlier ABA blog post by Sheila Liddle; An Introduction to Silverpoint.)

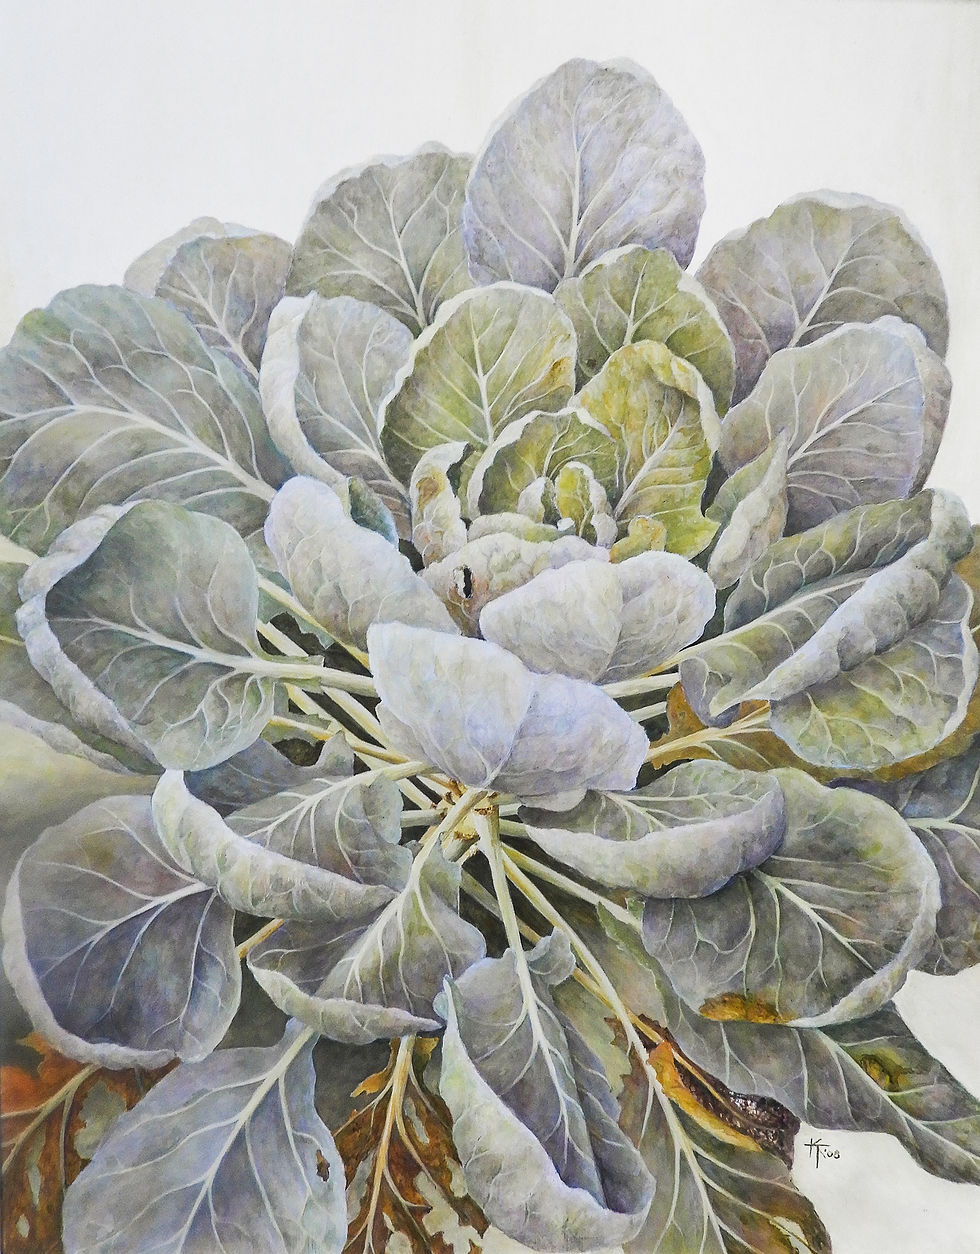
The last specialist techniques covered are Painting in Acrylics and Painting in Oils. Katie Lee explains the process of creating a botanical painting using acrylic paint and, although this isn’t presented as a step-by-step tutorial, she gives very specific detail about how to use the medium. She covers the use of gesso and water to thin the paint and talks about techniques I have not used before such as glazing with acrylic.
Her Brussels sprouts painting again has a delicacy that I would not associate with acrylics, and I would highly recommend reading this chapter if you are interested in developing your use of acrylics for botanical work.
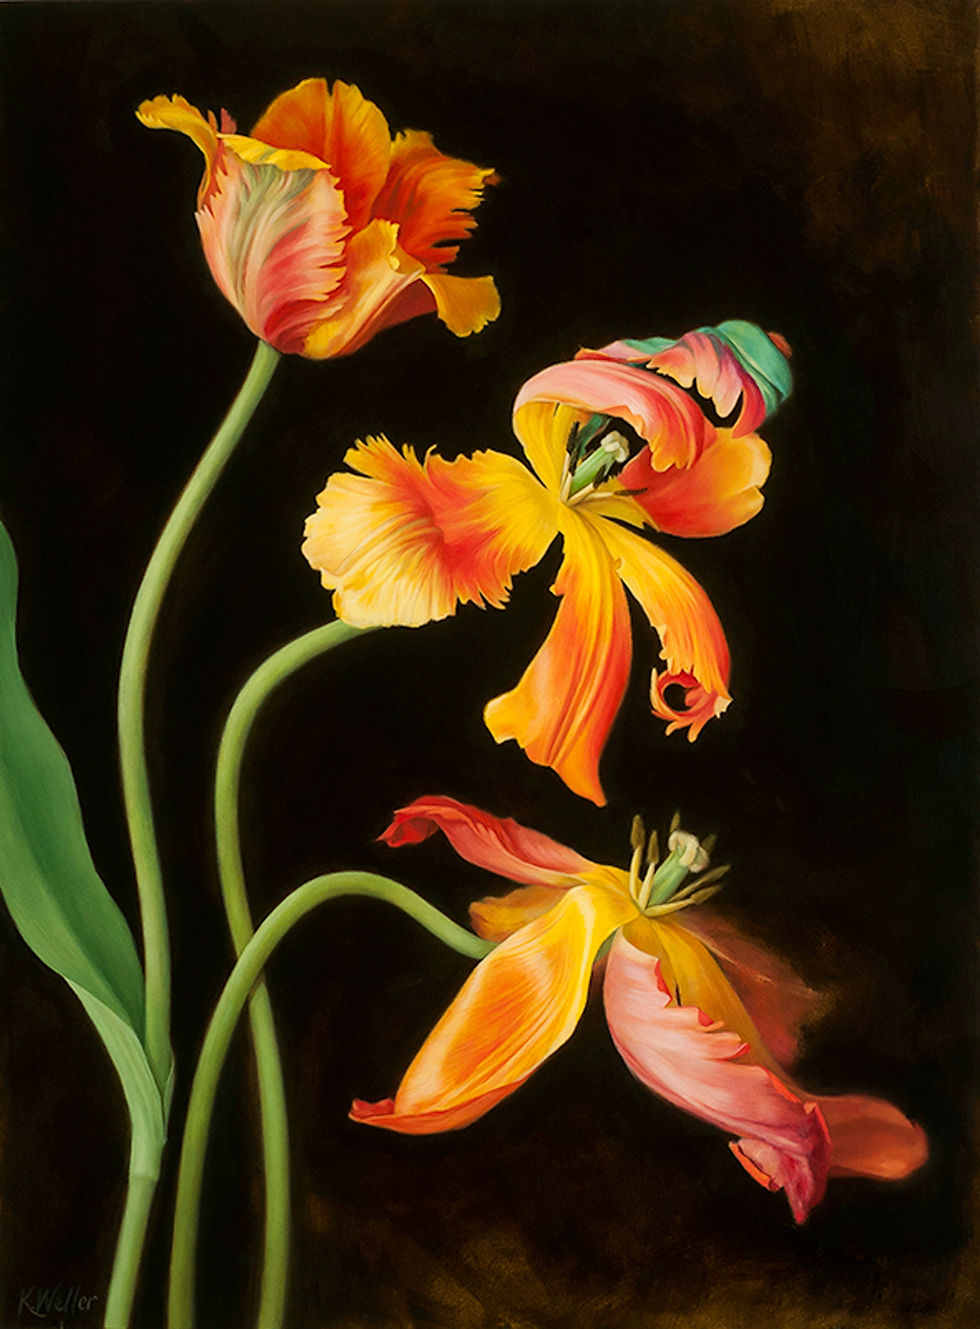
Kerri Weller has a similar approach in her chapter on Painting in Oils. She uses her impressive painting of parrot tulips as her example, and explains how she used oil techniques and also compositional decisions to create the piece. As with all other sections in Part 3, the level of detail is good and there are helpful tips within the descriptions.

The final section of the book covers Composition and is written by Carol Woodin. Carol refers to the composition process for four of her own paintings and it was very refreshing to see working sketchbook pages and stuck on pieces of tracing paper that she uses to plan out and adjust compositions. (This is a process I use and my sketchbooks are not particularly neat because of it!) She also provides two double spreads which give a glossary of terms and concepts relating to composition with further examples by artists. This was useful but I preferred the other parts of this chapter which really allowed me to understand Carol's methods of working.


Carol is joined by Robin A. Jess in the final pages where they cover a wide range of approaches to composition, focussing on the different approaches of a range of artists with photographic reference to their work. It felt pleasantly like reading the results of a discussion at an art group where you might have a range of paintings laid out before you and talk through how artists had chosen to use negative space, symmetry, habitat etc. I would have liked to see more diagrams in this section – you need to read quite text-heavy descriptions, and labelled images with annotations may have been more accessible to aid understanding – but you are left with a wealth of ideas and the knowledge that you can approach your compositions in a wide variety of ways to suit your style and the subject you are painting.
As you read through Section 3, you are accessing a collection of tutorials and descriptions from a wide range of tutors and therefore the chapters don’t necessarily build on one another as they would if by a single author or on a single technique; rather you are getting a wealth of knowledge and a wide range of styles and ideas to inspire your own work and improve your practice. All of the artists who have contributed clearly have great expertise in their areas and you may well feel inspired to go along to a workshop or find further resources online relating to these specialised techniques; it certainly gets you thinking about a much wider range of approaches to botanical art and illustration and gives you a fantastic range of examples to follow.
American Society of Botanical Artists (ASBA)
The American Society of Botanical Artists was founded in 1994 by Diane Bouchier and “has grown from an organization of 200 to over 1900 individual members and from 5 to 40 institutional members from around the world.” Its mission is to “provide a thriving, interactive community dedicated to perpetuating the tradition and contemporary practice of botanical art”.
To purchase this book: https://www.timberpress.com/ (shipping to US only), also available internationally online and in bookshops.


